My illustration process
Today, I want to share my illustration process from thumbnail to finish. It‘s something I‘m always interested in with other artists, as everyone has a different approach. I should add that I don‘t always work in this exact way - sometimes there is no thumbnail because an illustration evolves from a sketchbook drawing, or a color exercise. But for illustrations that are more complex, or part of a story, these are my usual steps.
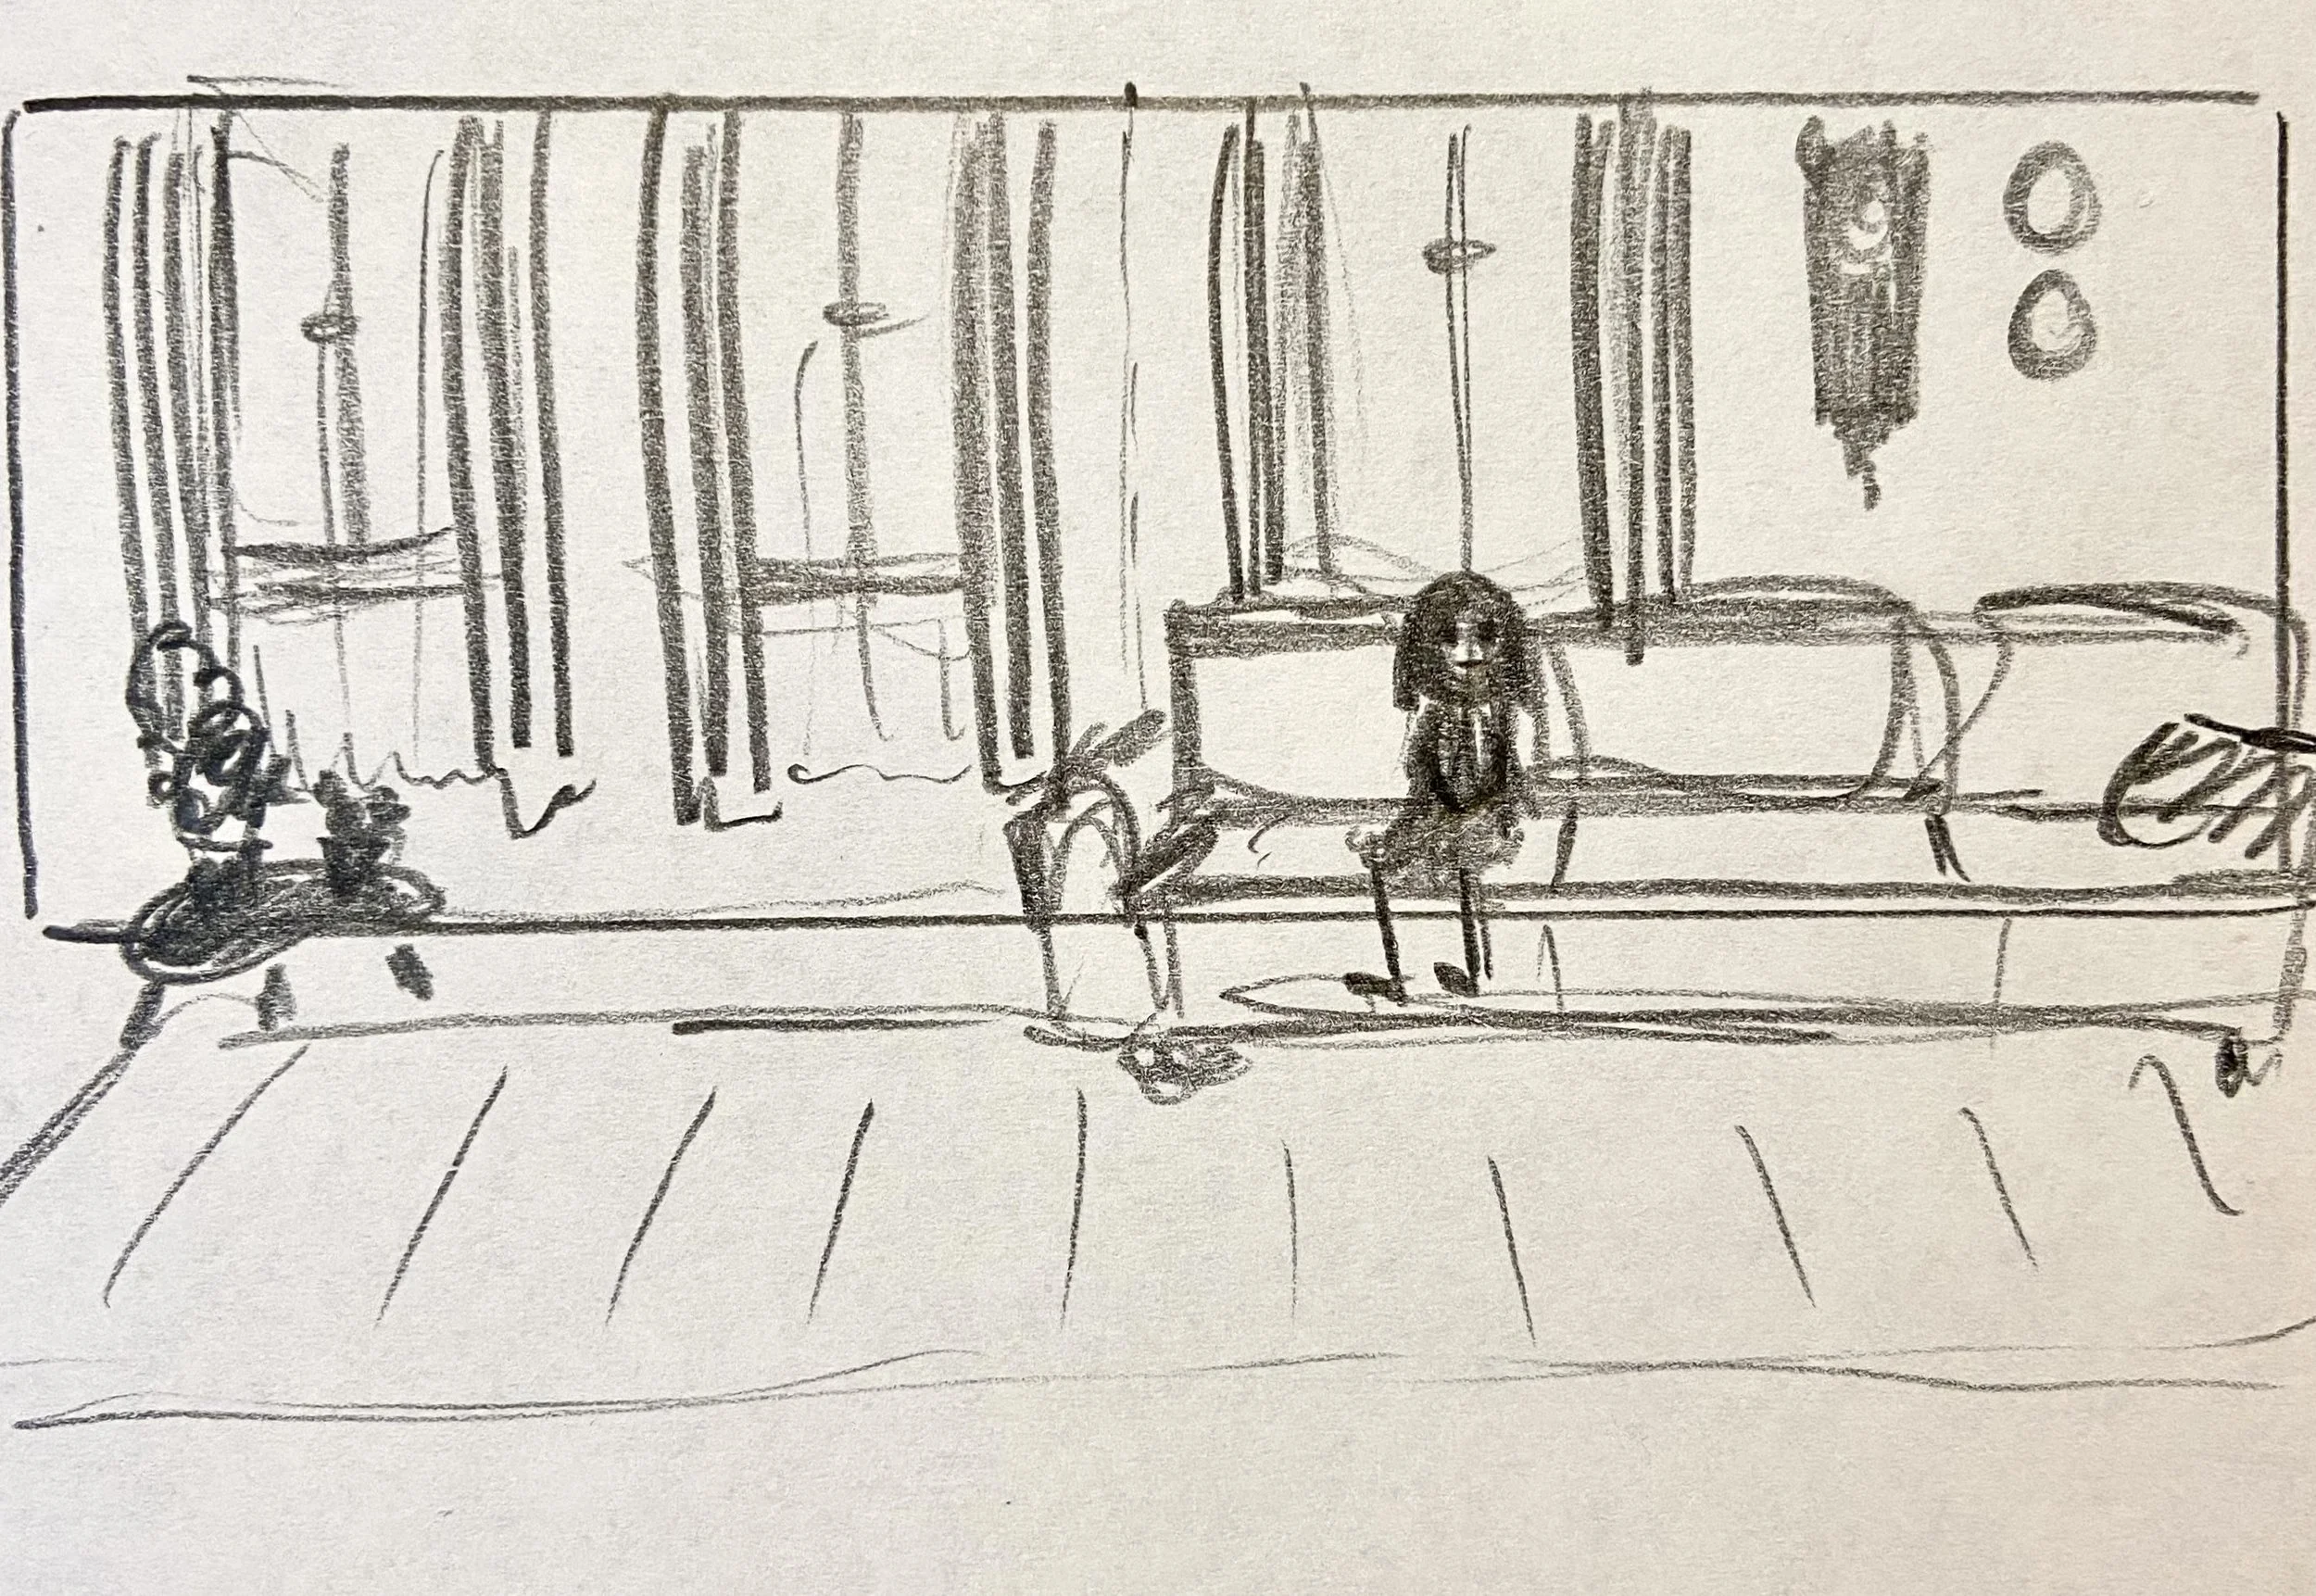
The thumbnail: I didn‘t want to believe it for a long time, but these are so important! At this stage, it‘s about generating ideas very quickly, and figuring out what the illustration is going to be in broad strokes. I like to use an 8b pencil, which is very soft and absolutely awful for details. It helps me to concentrate on the most important questions: What do I want to show? Where do I put everything? As you can see, it‘s just a stick figure and a very loose sketch. But it gives me all the information I need for the next step.
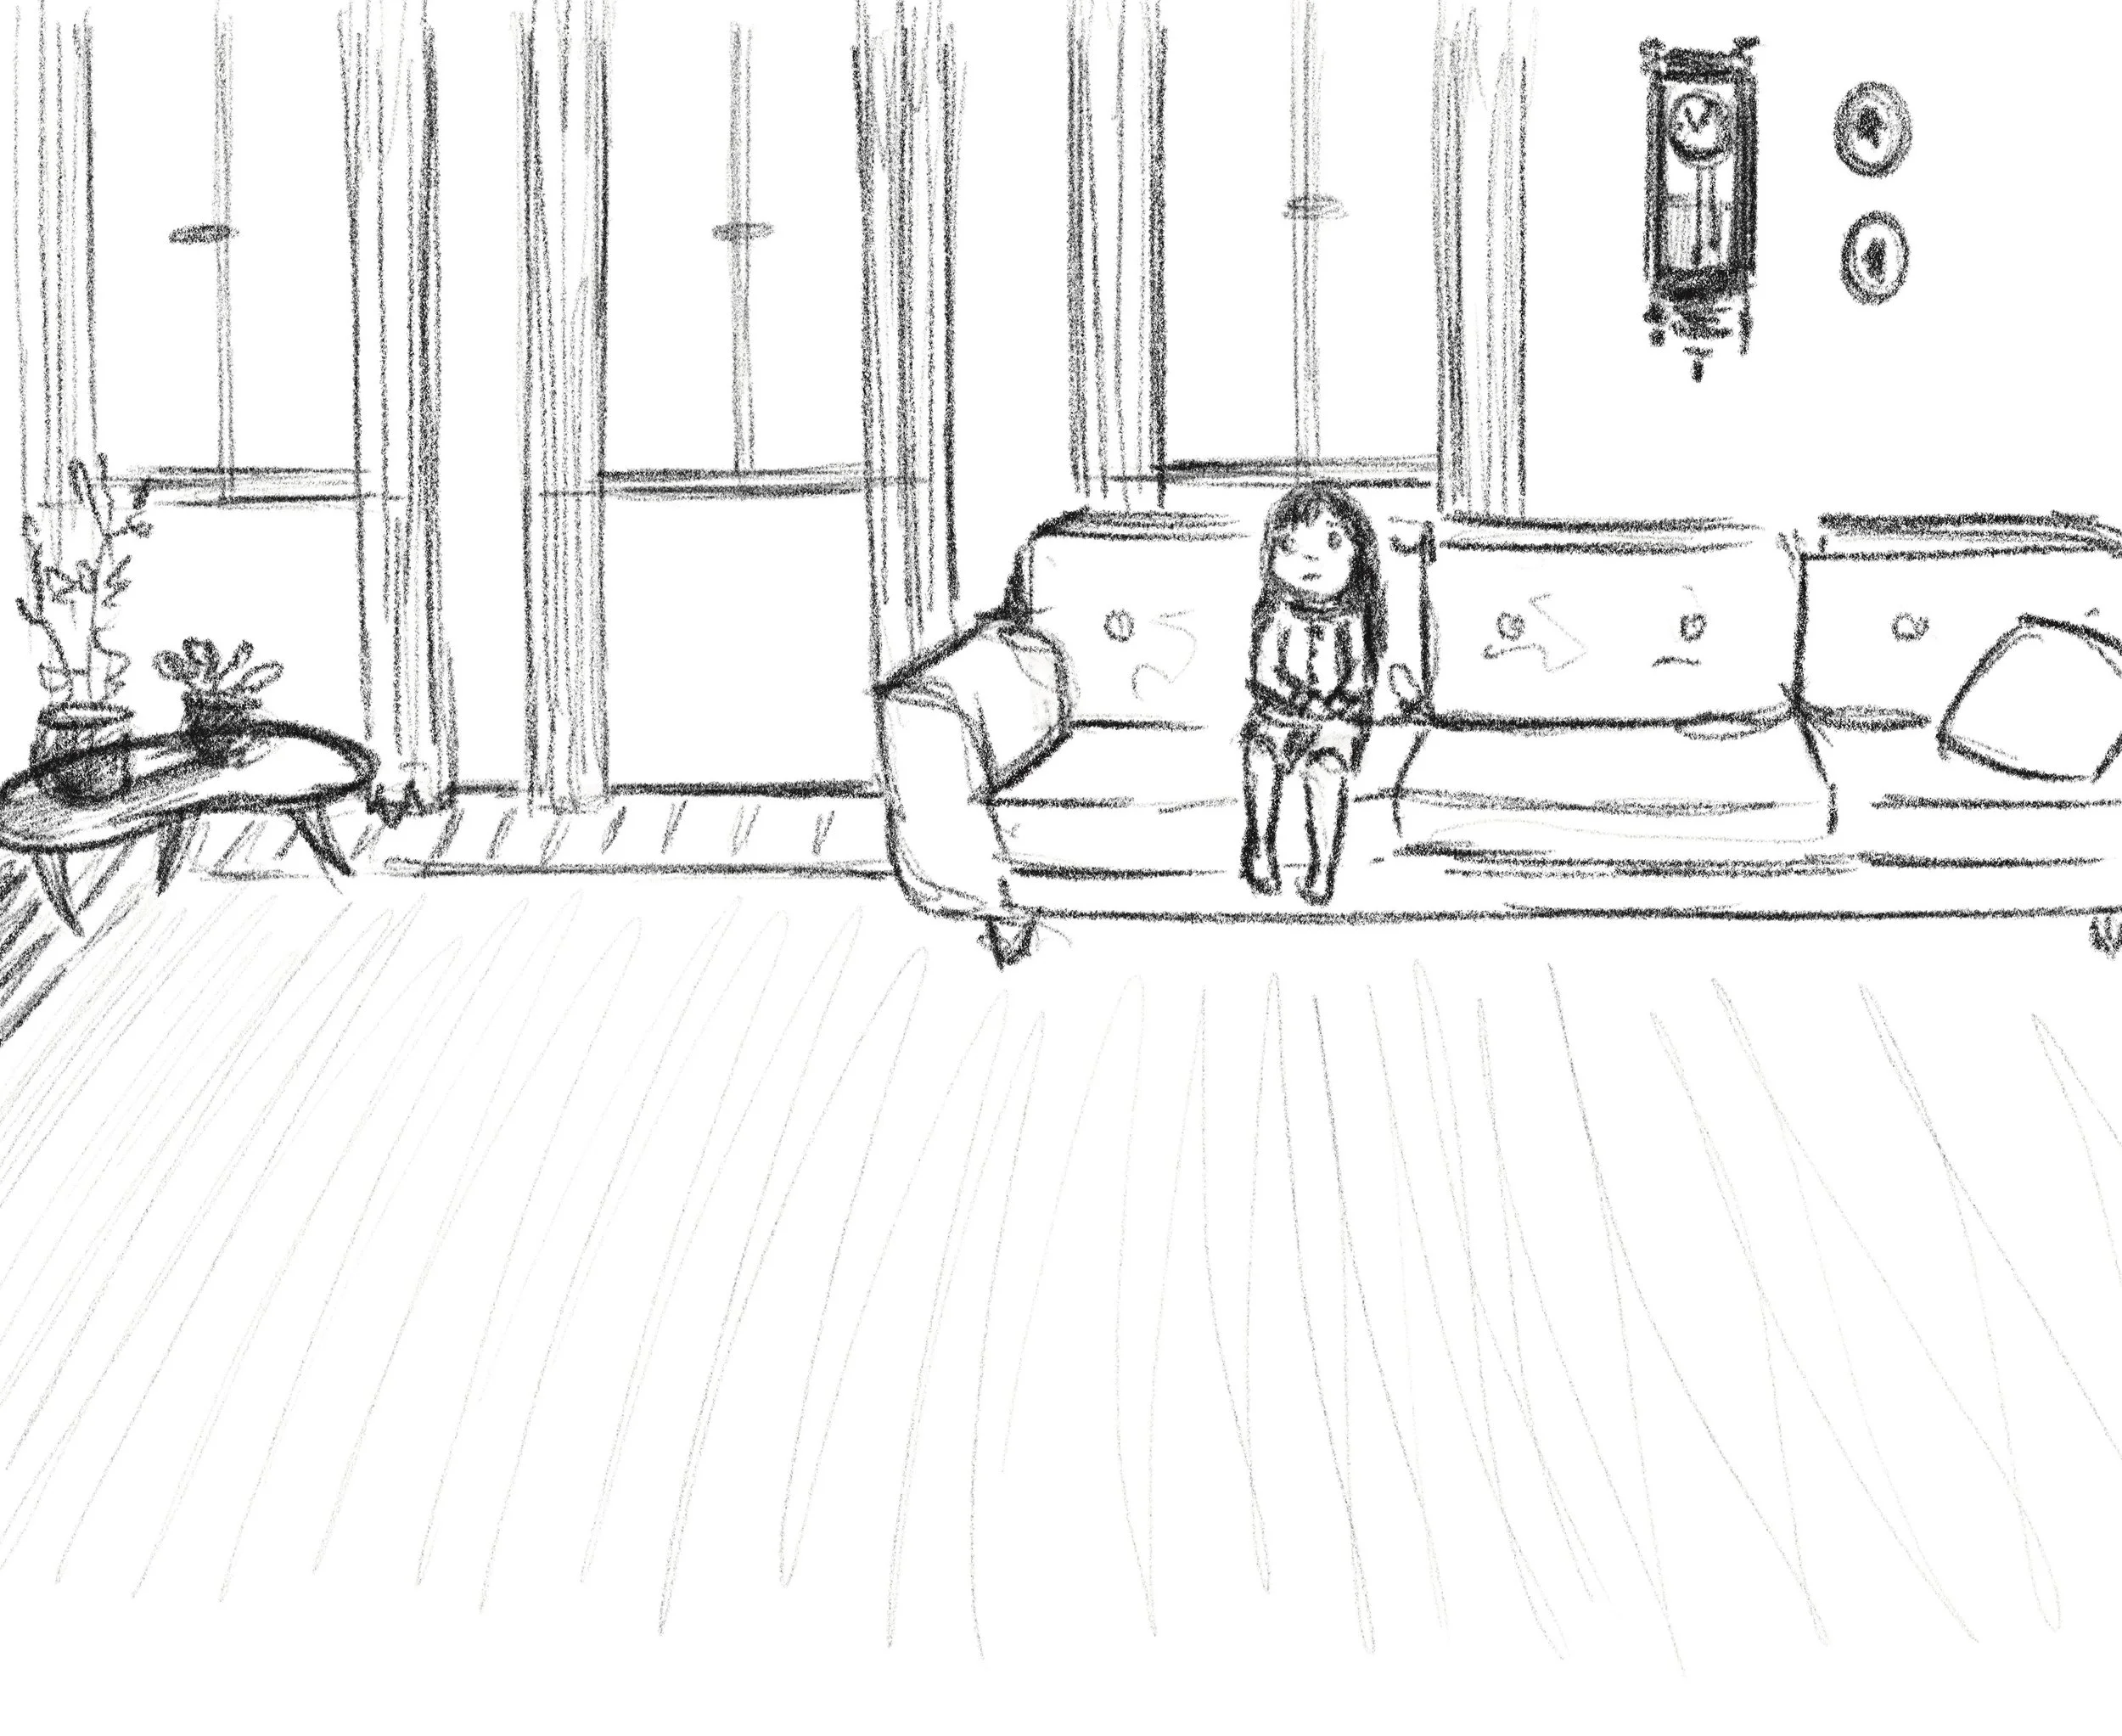
The sketch: I take a picture of my thumbnail with my phone, and use it as the base for a digital drawing. This drawing is still quite loose, but it is the same size as the finished illustration will be. It‘s not supposed to be a perfect, detailed drawing, just enough to communicate the image more clearly. I can also show a sketch like this to other people to get some feedback.
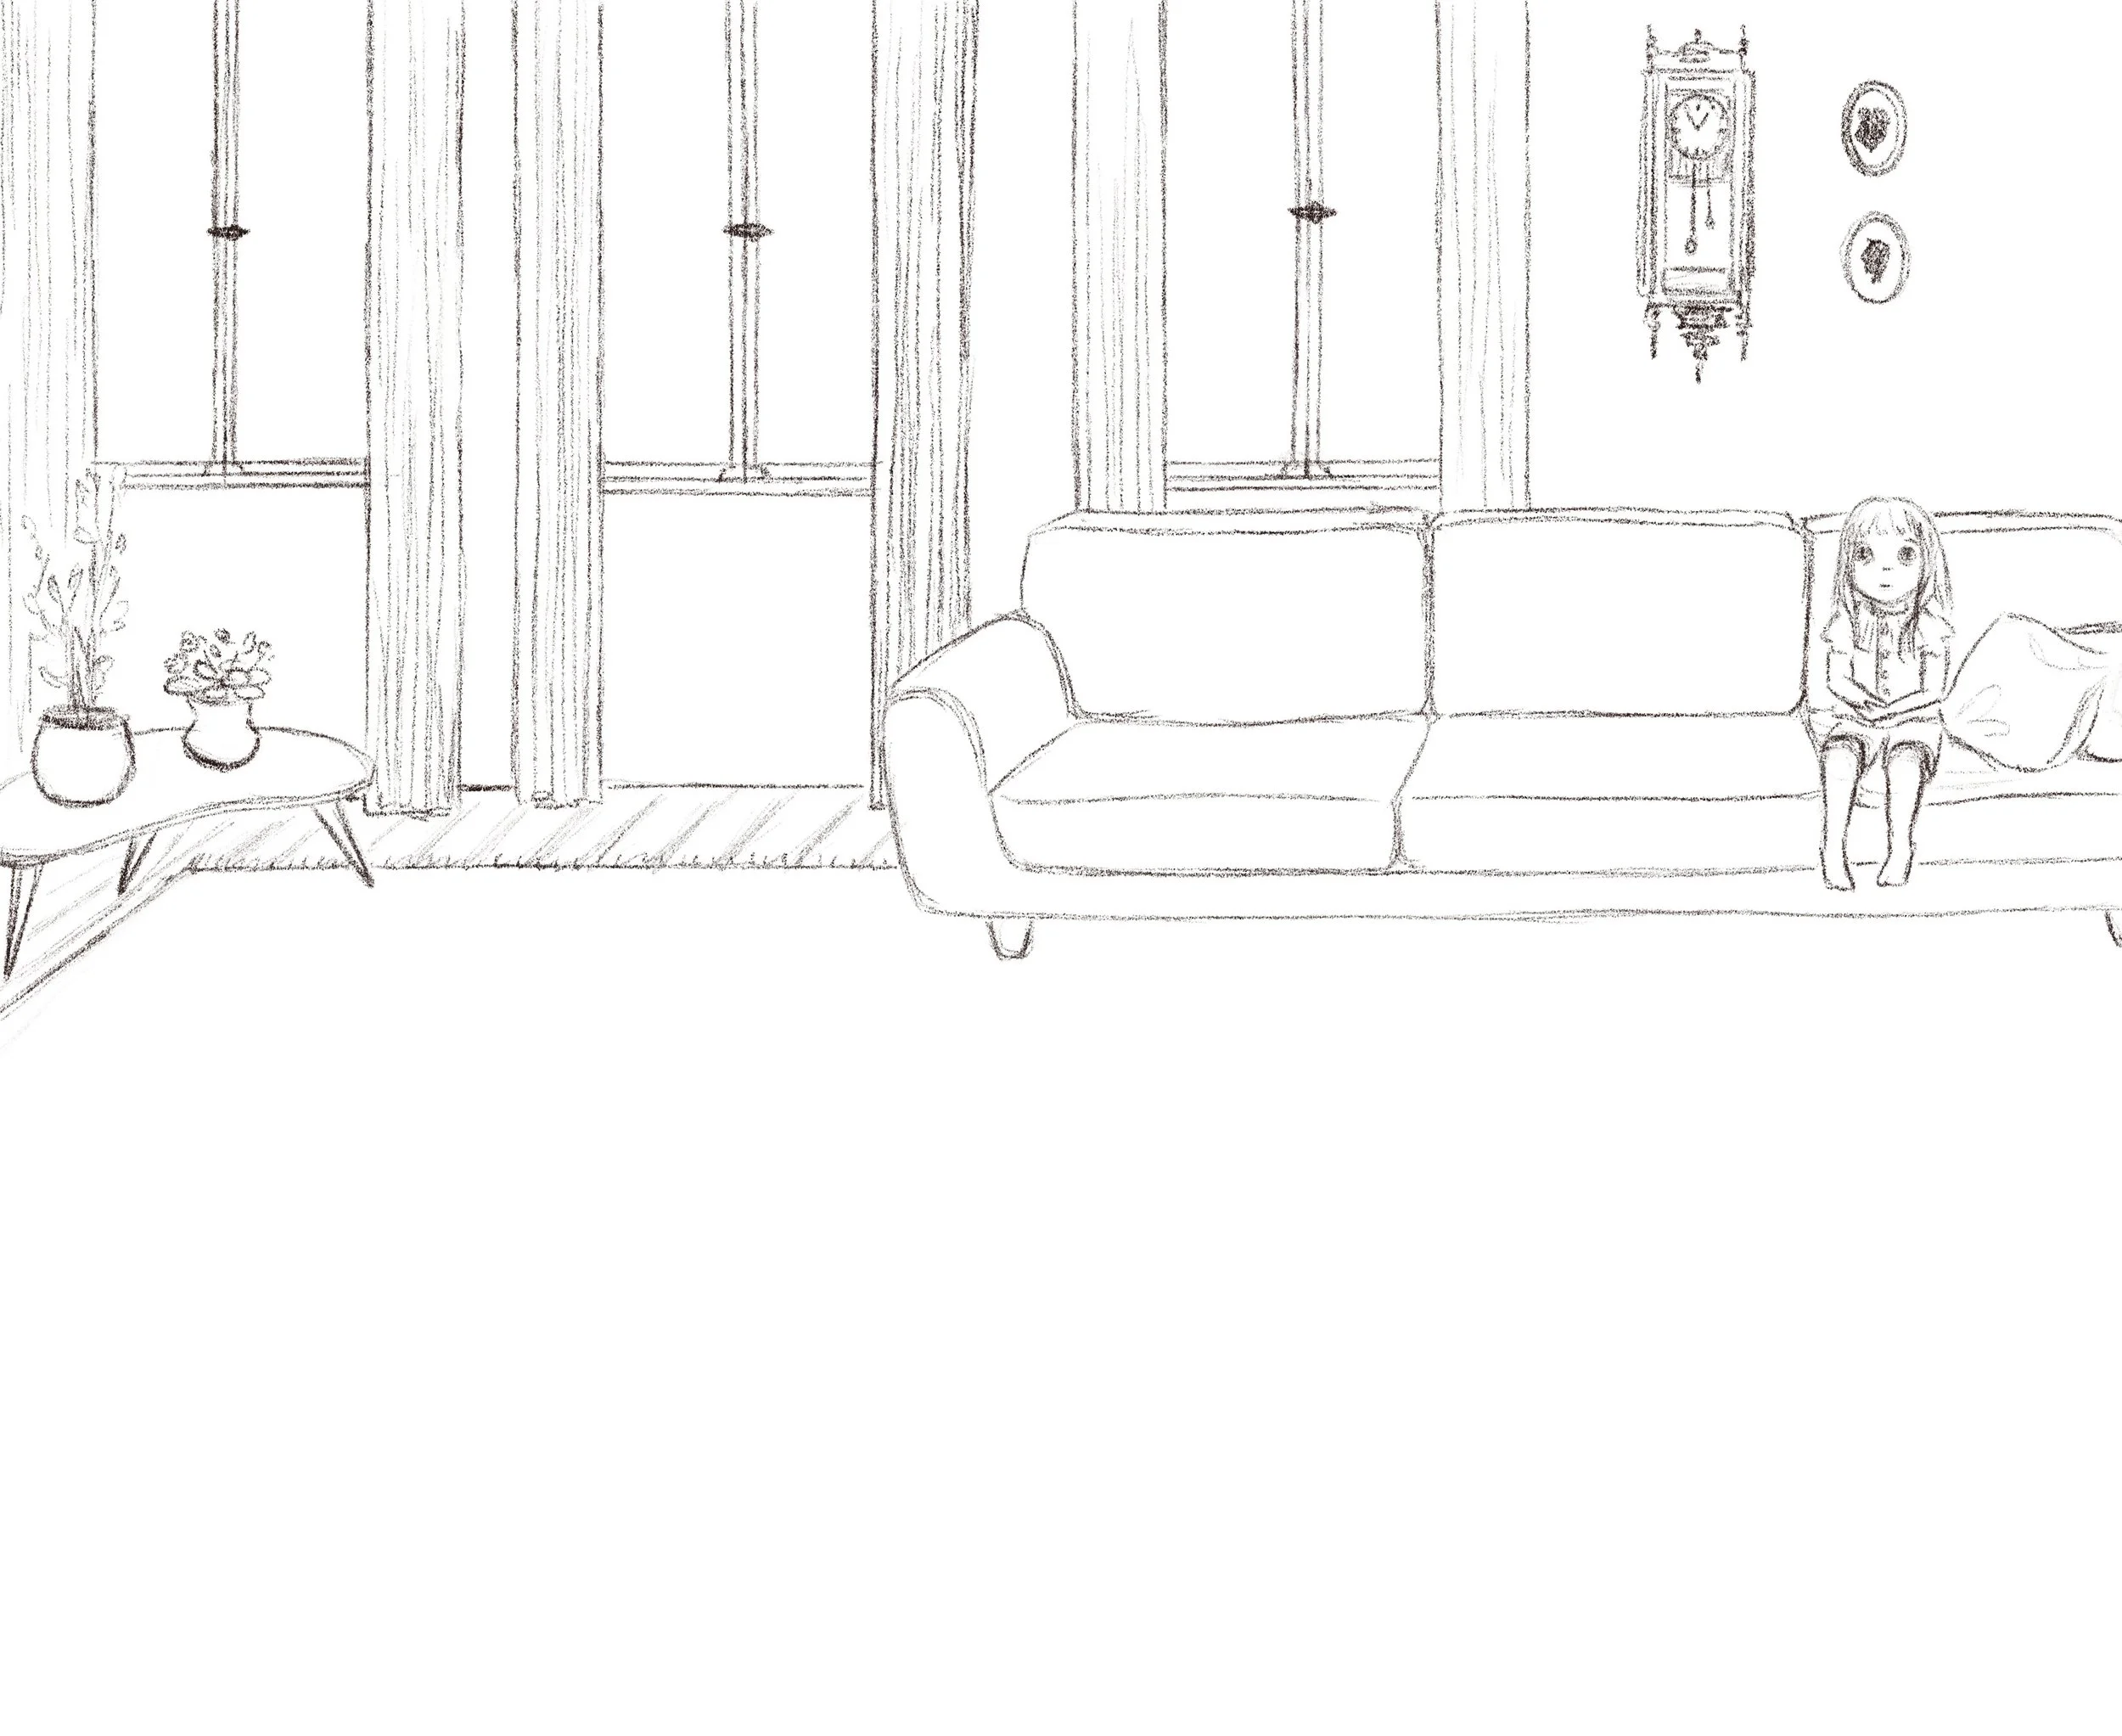
The line drawing: Last chance to make some changes! In this case, my lovely agent Sarah suggested moving the girl to the right, to make the room feel even more empty. Switching to digital for the sketching and drawing phase allows me to put important elements on different layers, so I can move them around if needed. If the final image is going to have very complex lighting, I would have done a value study before making the drawing. Here, the lighting was quite simple, so I skipped that step. The drawing has now lots of little details, and I only move forward once I‘m satisfied everything is exactly in the place I want it to be.
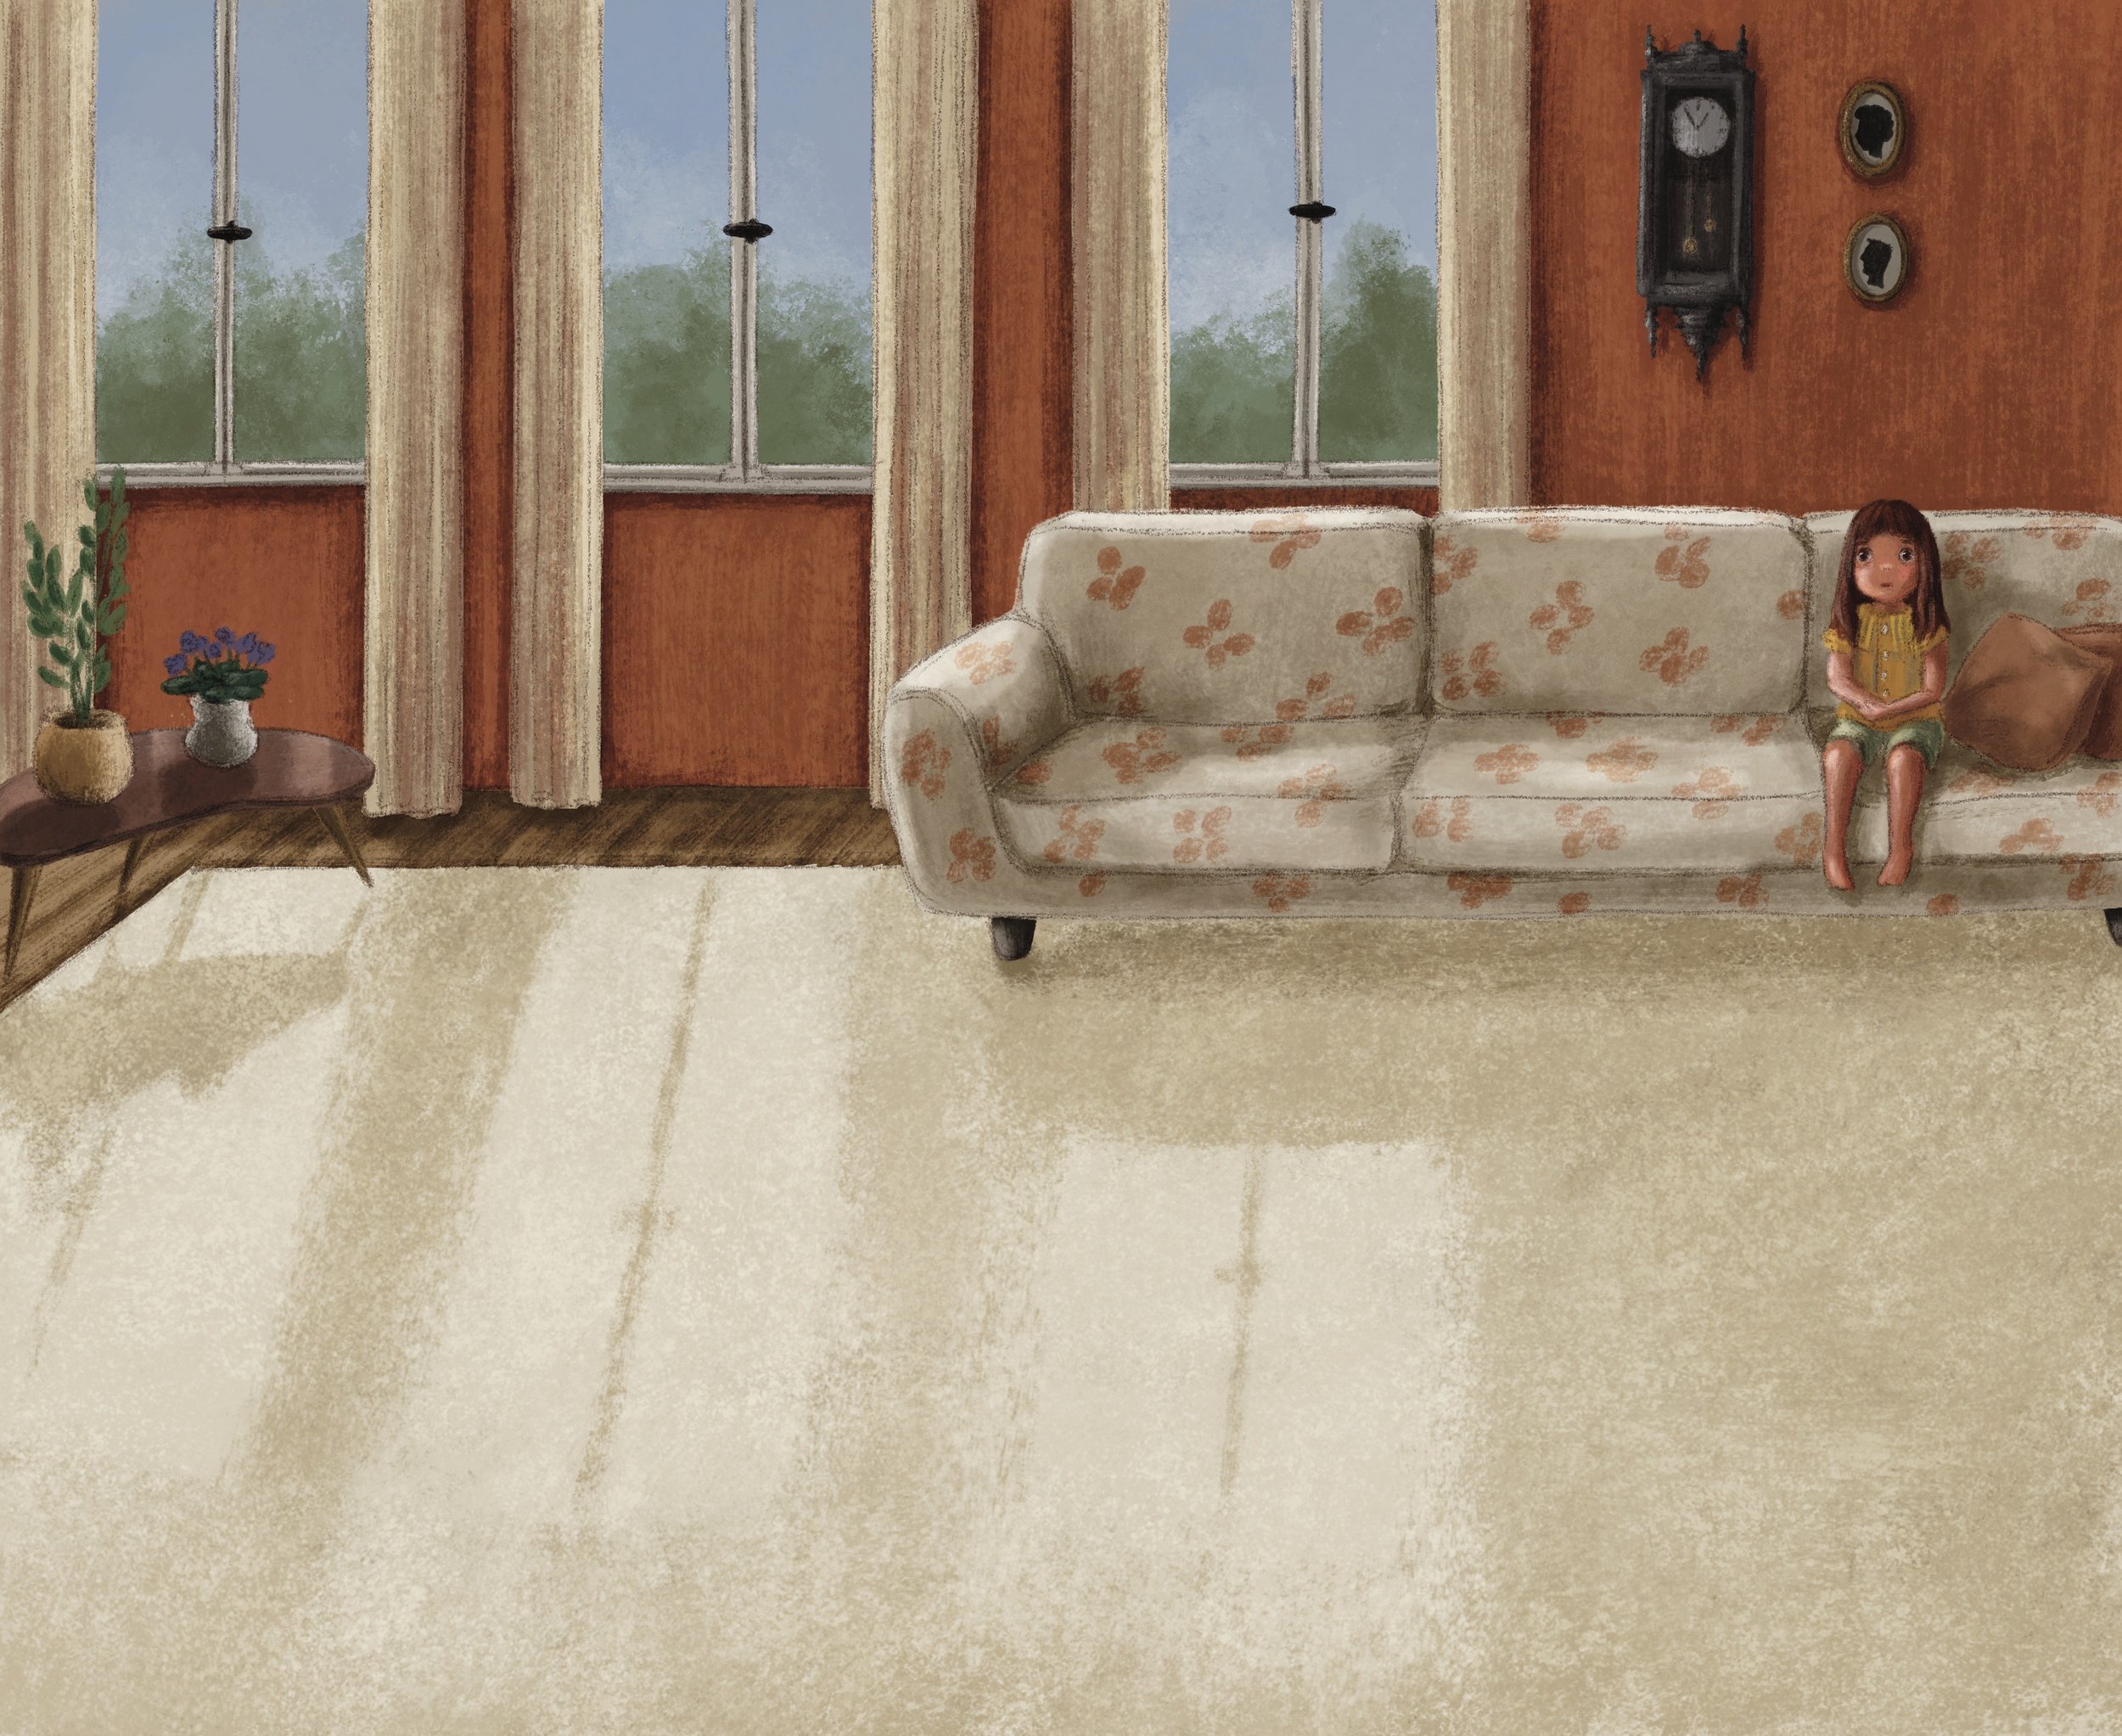
The actual painting: Finally! I just love colors so much. To incorporate the drawing into the final painting, I put it on a separate layer on top. I paint the various elements on separate layers too. This allows me work faster because I don‘t have to paint around objects. It‘s also easy to make changes in value or color - I was able to test different values for the wall this way. I then paint in the light and shadows last, which is always the thing that really makes an image come alive for me. And that‘s it!


